If you’ve been using Claude for a while, you’ve probably run into a familiar problem: every time you start a new conversation, you’re starting from scratch. You re-explain your role, re-upload the documents Claude needs, and re-describe how you’d like it to respond. For a one-off task, that’s fine. But for ongoing work — a research initiative, a product you’re developing, a client relationship — it starts to feel like a tax on your time.
Projects are Claude’s answer to that problem. They let you create dedicated workspaces where your context, documents, and instructions persist — so you can walk into a conversation with Claude already knowing what you’re working on, rather than spending the first few messages catching it up.
This post covers everything you need to know to start using Projects effectively: what they are, how to set one up, how Claude handles large knowledge bases, and how teams can use Projects to collaborate.
What Is a Project?
A Project is a self-contained workspace inside Claude. Each Project has its own:
- Chat history — a collection of all the conversations you’ve had within that Project, kept separate from your other chats
- Knowledge base — a set of files and documents you upload that Claude can draw on in every conversation within the Project
- Instructions — a custom brief you write that tells Claude how to behave, what context to keep in mind, and what rules to follow — for every chat in that Project
Think of it like setting up a dedicated office for a specific body of work. Instead of carrying all your files and briefing notes to a new room every time you want to have a conversation, everything is already there when you arrive.
When Should You Use a Project?
Not every task needs a Project. If you’re asking Claude a quick question or trying something out, a regular conversation is perfectly sufficient. Projects shine when two or more of these conditions are true:
You’ll return to this work repeatedly. If you’re going to be asking Claude about the same subject matter over days or weeks, a Project lets you pick up where you left off without re-establishing context every time.
You have reference materials Claude needs to know. Brand guidelines, research papers, policy documents, product specs, spreadsheets — if Claude needs to know about these to help you effectively, a Project knowledge base is the right place to put them.
You want Claude to behave consistently. If you always want Claude to respond in a particular tone, follow a specific format, or keep certain constraints in mind, Project instructions let you set those rules once instead of repeating them in every prompt.
You’re collaborating with a team. On Team and Enterprise plans, Projects can be shared with colleagues, giving everyone access to the same knowledge base and instructions.
Setting Up Your First Project
Creating a Project is a three-step process.
Step 1: Create the Project
Navigate to the Projects section on claude.ai — you’ll find it in the left sidebar. Click + New Project, give your project a name and a brief description, and choose your visibility settings.
One thing worth knowing: Claude does not actually read the project name or description you enter here. These are for your own organizational purposes — labels that help you find and identify the project in your list. The way you communicate context to Claude is through your instructions (step 2) and your knowledge base (step 3).
If you’re on a Team or Enterprise plan, you’ll also be asked whether to keep the project private (accessible only to you and members you specifically invite) or to share it with your broader organization.
Step 2: Write Your Project Instructions
Project instructions are a standing brief for Claude. Whatever you write here will be applied to every conversation that takes place within the Project. This is where you tell Claude:
- What this project is about and what role you need it to play
- What tone, format, or style you prefer
- Any rules it should follow (e.g., “always cite sources,” “keep responses under 200 words,” “assume the audience has no technical background”)
- Specific context Claude wouldn’t otherwise know (e.g., “our company uses a four-step approval process,” “the target market for this product is mid-size law firms”)
Well-written instructions are the single biggest factor in whether a Project saves you time or adds friction. The more specific you are, the less you’ll need to re-explain yourself in individual conversations.
Step 3: Upload Your Knowledge Base
The knowledge base is where you store the files and documents Claude should be able to reference in every conversation within the Project. You’ll find the knowledge base panel on the right side of your project’s main page.
Supported file types include PDF, DOCX, CSV, TXT, HTML, and links to Google Drive documents. Claude will process whatever you upload and treat it as available context — something it can search and draw from when you ask questions or make requests.
A few practical notes:
- File naming matters. Claude uses file names to understand what it’s looking at and to retrieve the right information when your knowledge base grows large. A file called
Q4-2024-Brand-Guidelines.pdfis much easier for Claude to identify and reference thandocument-final-v3.pdf. Descriptive, specific names pay dividends as your project scales. - Context is not shared across chats. This surprises some people: conversations within a Project are separate from one another. If you discuss something important in one chat, Claude won’t automatically carry that knowledge into the next one unless you add it to the knowledge base. The knowledge base is the shared memory; individual chats are not.
- Group related documents together. Adding all the files relevant to a particular topic or project into the same knowledge base lets Claude draw connections across sources — something that’s difficult to do when documents are spread across separate conversations.
How Claude Handles Large Knowledge Bases: RAG Mode
Here’s a constraint worth understanding: Claude, like all AI assistants, can only work with a certain amount of information at one time. This limit is called the context window — you can think of it as working memory. Claude’s context window is large (200,000 tokens, or roughly 500 pages of text on paid plans), but if you’re building a serious knowledge base — dozens of documents, hundreds of pages — you’ll eventually bump up against it.
Claude handles this automatically through a technology called Retrieval Augmented Generation, or RAG.
What Is RAG?
RAG is a technique that allows Claude to store far more information than it could hold in working memory at once, and then intelligently retrieve only the most relevant portions when you ask a question. Instead of loading your entire knowledge base into memory at the start of every conversation, Claude searches the knowledge base for the content most relevant to what you’re asking, and retrieves just that — quickly and accurately.
The effect is that your Project can hold up to ten times more content than it could without RAG, without any meaningful loss in response quality.
When RAG is active, you’ll notice Claude using a “project knowledge search” step before answering some questions. This is Claude retrieving the relevant material from your knowledge base rather than loading all of it at once. The experience is seamless — you ask a question, Claude finds the right information, and responds.
RAG is available on all Claude plans, including the free tier.
Collaborating with a Team
For users on Team and Enterprise plans, Projects can be shared with colleagues. This is one of the most powerful applications of the feature: instead of every team member maintaining their own copy of the same reference documents and re-explaining the same context to Claude, a shared Project becomes a single source of truth.
When sharing a Project, you assign each member one of three permission levels:
- Can use — Members can read the project contents (instructions and knowledge base) and start chats within the project, but cannot change any of its settings.
- Can edit — Members can modify the project instructions and knowledge base, add or remove other members, and actively contribute to the project.
- Owner — Full control over the project, including sharing settings and membership management.
Sharing can be done individually (by email address), in bulk (by pasting a list of email addresses), or organization-wide (making the project visible to everyone in your organization, if your plan allows it).
One important nuance: even in a shared Project, your individual chats are private by default. Other team members can see and use the same knowledge base and instructions, but they cannot read your conversations unless you explicitly share them. The shared layer is the context; the private layer is the work.
Best Practices for Getting the Most from Projects
A few habits that make Projects significantly more useful in practice:
Start focused. Resist the urge to build a catch-all project for everything. Projects work best when they’re scoped to a specific body of work — a product, a client, a research area. The more focused the knowledge base and instructions, the more reliably Claude will understand what you need.
Keep your knowledge base current. Claude can only reference what you’ve uploaded. If a key document changes — updated guidelines, a new report, a revised policy — upload the new version and remove the old one.
Write specific instructions. Vague instructions produce inconsistent results. Instead of “be helpful and professional,” try “respond in a direct, concise tone appropriate for senior executives. Avoid jargon. Flag any assumptions you’re making.” The more specific the instruction, the more predictably Claude will apply it.
Reference documents by name in your prompts. When your knowledge base contains multiple documents, naming the file you want Claude to focus on helps it retrieve the right information: “Based on the Q3-2024-Competitive-Analysis.pdf, what are the three most significant threats from competitors?” is more precise than “what does our competitive analysis say?”
Use Projects for recurring tasks with templates. If you have a weekly report you produce, a research workflow you follow, or a document format you always use, put the template and instructions in a Project. Then every conversation in that Project starts with Claude already knowing the format and expectations.
A Practical Example
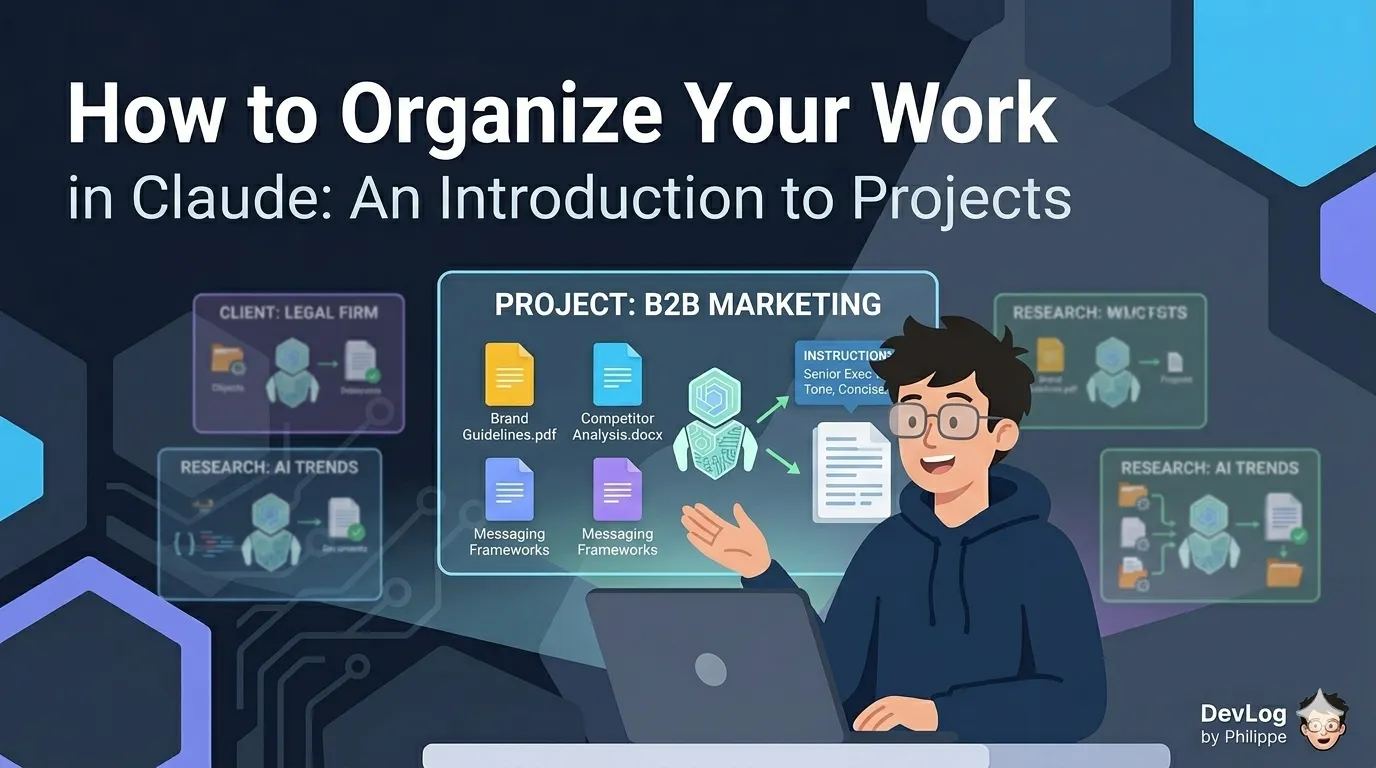
To make this concrete: imagine you’re a marketing manager responsible for a product line. You might create a Project called Brand & Messaging — [Product Name] and populate it with:
- Your brand guidelines document
- Approved messaging frameworks and tone-of-voice guidance
- Previous campaign briefs and performance summaries
- Competitor positioning documents
Your instructions might include: “You are helping the marketing team for [Product]. Always apply the brand voice guidelines from the uploaded Brand Guide. Keep messaging targeted at the B2B mid-market. Flag anything that conflicts with the approved messaging frameworks.”
From that point on, every conversation in that Project starts with Claude fully briefed. You can draft copy, analyze campaign results, brainstorm new angles, or review content for consistency — all with Claude already knowing the context it needs.
Looking Ahead
Projects are the foundation for moving from occasional Claude use to sustained, organized AI-assisted work. Once you’ve set one up for a recurring area of your work, the difference in efficiency becomes apparent quickly: less time re-explaining, fewer corrections, more productive conversations from the very first message.
In the next lessons, we’ll build on this foundation — looking at Artifacts (the interactive outputs Claude can produce within a conversation), Skills (reusable automated workflows), and Connectors (integrations with the tools you already use). Each of these features becomes more powerful when used within the context of a well-configured Project.
Further Reading
- What are projects? — Projects as self-contained workspaces with chat histories and knowledge bases, including RAG and collaboration
- How can I create and manage projects? — Comprehensive guide to creating, organizing, and managing Claude projects including knowledge content and team sharing
- Examples of projects you can create — Six practical project examples including research organization, product development, and content creation
- Retrieval augmented generation (RAG) for projects — RAG mode that expands project knowledge capacity by up to 10x by retrieving relevant document content on demand
- Manage project visibility and sharing — Toggling projects between Public and Private states and managing member access
- Organize your tasks with projects in Cowork — Creating and managing project workspaces in Cowork with dedicated files, context, instructions, and memory